
Learn how to convert 35mm slides to digital so your memories can be preserved and easily shared. This guide explains the different methods for digitizing slides and what to expect when converting large slide collections.
Many families have collections of 35mm slides stored in boxes, carousels, or slide trays. These slides were commonly used for photography from the 1950s through the 1990s and often contain decades of family memories.
While slides can last a long time when stored properly, they can fade or become damaged over time. Converting slides to digital images allows those memories to be preserved and shared more easily.
Digitizing slides also makes it possible to view the photos without needing a projector, and digital files can be backed up to ensure the images are protected for future generations.
35mm slides are pieces of photographic film mounted in small frames, usually made of cardboard or plastic. Unlike printed photographs, slides contain the original film image that was captured by the camera.
Slides are typically viewed using a projector or by holding them up to light. When digitized, the image on the slide is converted into a high-resolution digital file.
Many families discover slides from vacations, holidays, and family events that have not been viewed in many years because the equipment needed to display them is no longer available.
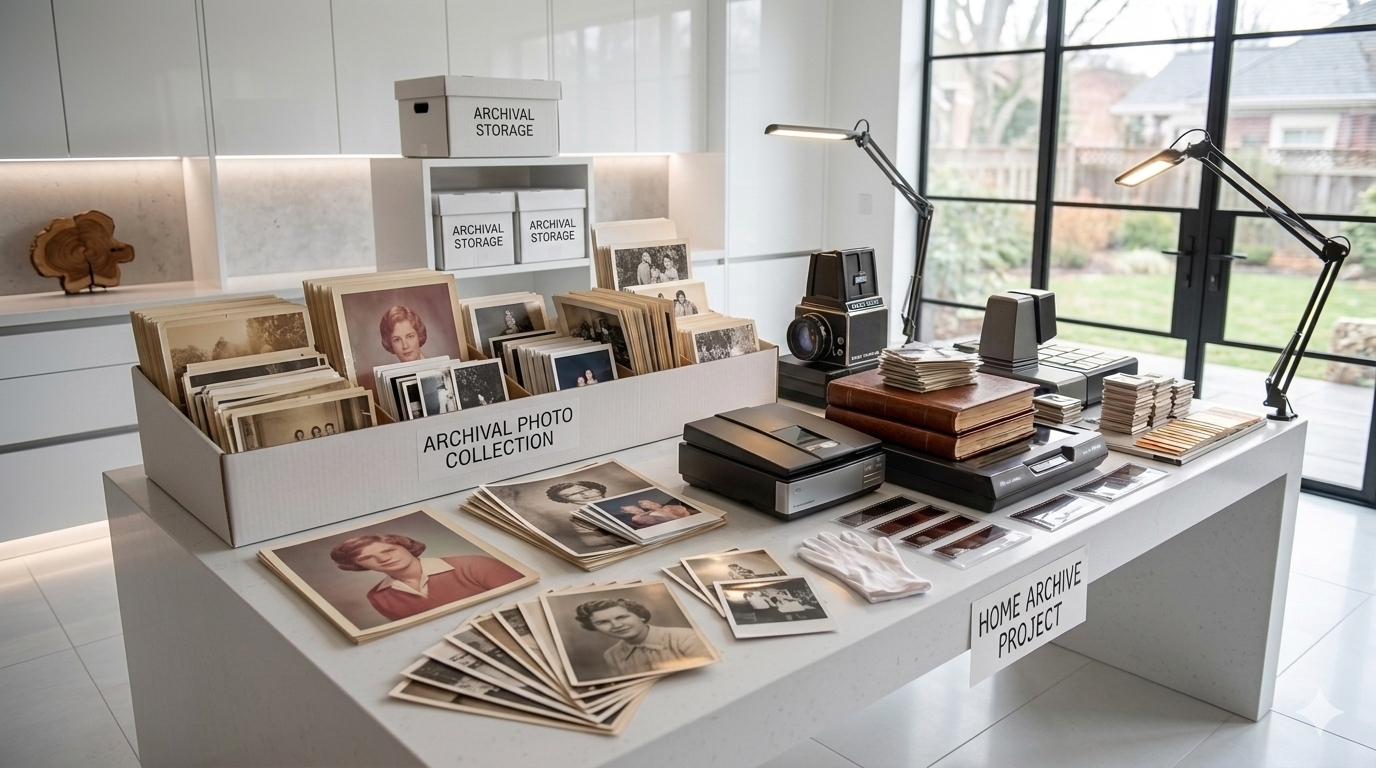
There are several ways to convert slides into digital images depending on the size of the collection and the level of quality desired.
Slide scanners are designed specifically to digitize film slides and negatives. These scanners illuminate the film and capture the image in high resolution.
Slide scanners can produce very good results, especially when scanning larger collections.
However, scanning slides individually can take time, particularly if there are hundreds or thousands of slides.
Some flatbed scanners include adapters that allow slides and negatives to be scanned.
While this method works, flatbed scanners are often slower and may require manually positioning each slide before scanning.
For large slide collections, this process can become time-consuming.
Some people attempt to digitize slides by photographing them using a camera or smartphone while holding them up to light.
Although this can work for quick sharing, the image quality is usually inconsistent due to reflections, lighting conditions, and camera positioning.
For preserving important photos, dedicated scanning methods typically produce better results.
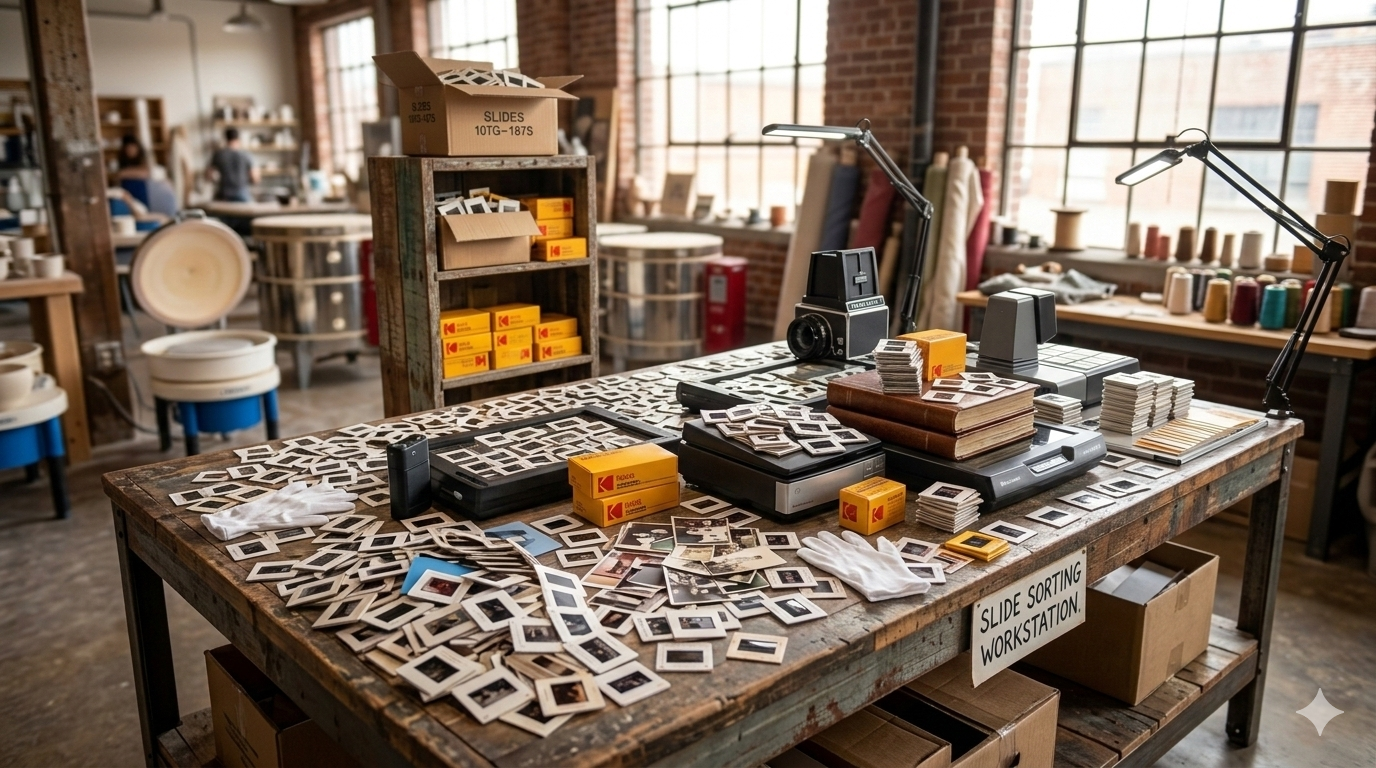
Before digitizing slides, it can be helpful to organize them into groups. Slides are often stored in trays or carousels that may already follow a specific order.
Many people choose to organize slides by:
Keeping slides organized before scanning helps ensure the digital files remain easy to sort and browse afterward.
When slides are digitized using proper scanning equipment, the resulting images can be very detailed because slides contain the original film image.
Digitized slides can typically be used for:
Many people are surprised by how vibrant and detailed older slides appear once they are digitized.
After slides are converted into digital images, they can be organized and shared in many ways.
Families often use digitized slides to:
Digitizing slides makes it much easier to rediscover photos that may not have been viewed for many years.
Large slide collections can take many hours to digitize manually. For families who want a simpler process, professional slide scanning services can help convert large collections efficiently.
At Middle, we help families throughout Calgary digitize 35mm slide collections and convert them into high-resolution digital images. With local pickup and delivery available, the process is simple and hands-off.
Digitizing your slides allows those memories to be preserved, organized, and easily shared with family members for years to come.