

New to photo scanning? This beginner-friendly guide explains how photo scanning works, how to digitize old pictures safely, and how to preserve your family memories in digital format.
Many families have boxes filled with printed photographs that capture decades of memories. These photos often include important life moments such as birthdays, holidays, weddings, and family gatherings.
Unfortunately, printed photos can fade, discolor, or become damaged over time. Converting them into digital images helps preserve those memories while making them easier to view and share.
Photo scanning allows you to protect these important moments and keep them accessible for future generations.
Photo scanning is the process of converting printed photographs into digital image files using a scanner. The scanner captures the details of the photo and saves it as a digital file that can be viewed on a computer, phone, or tablet.
Once digitized, photos can be stored digitally, backed up, and shared with family members. This makes it much easier to organize large photo collections and prevent the loss of important images.
Digital photos can also be used for slideshows, albums, and family history projects.
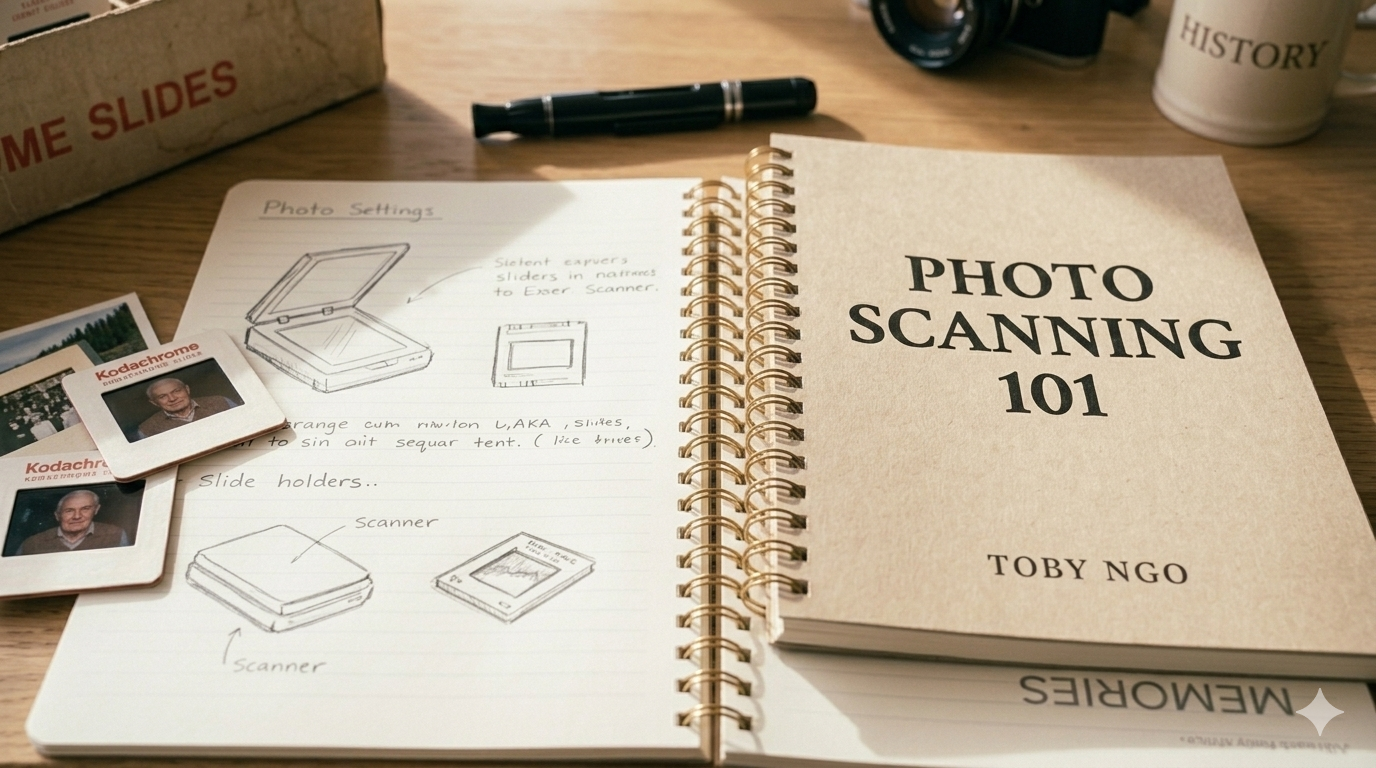
For beginners who want to scan photos themselves, selecting the right scanner is important. Many people use flatbed scanners or photo scanners designed specifically for scanning printed images.
These scanners allow you to place photos on a glass surface and capture them at a high resolution. Some scanners are also designed to scan multiple photos quickly, which can save time when working with large collections.
The quality of the scanner plays a role in how detailed and clear the final digital images will be.
When scanning photos, resolution is an important setting to consider. Resolution is measured in DPI (dots per inch) and determines how much detail the scanner captures.
For most printed photographs, scanning at 300 to 600 DPI provides excellent results for viewing, sharing, and printing.
Higher resolutions may be useful for small photos or images that you plan to enlarge later.
Before starting the scanning process, it can be helpful to organize your photos into groups. Sorting photos by year, event, or family member can make the scanning process much easier.
Organizing photos ahead of time also helps when naming and storing digital files later.
This small step can save significant time once your photo collection begins to grow.
Once photos have been scanned, it is important to store them safely. Digital photos should be backed up in multiple locations to reduce the risk of losing them.
Many people keep copies of their photos on external hard drives as well as cloud storage services. Having multiple backups helps ensure your digital memories remain protected long-term.
Proper storage and organization make it easy to revisit and share your photos whenever you want.
Scanning a small collection of photos at home can be manageable, but large collections can take many hours to digitize.
Professional photo scanning services can help convert large numbers of photos efficiently while ensuring the images are handled carefully.
At Middle, we help families throughout Calgary digitize printed photos and slides so their memories can be safely preserved and easily shared with future generations.