
Slides contain decades of memories, but they can fade over time. Learn effective techniques for scanning slides so you can preserve these images in high-quality digital format.
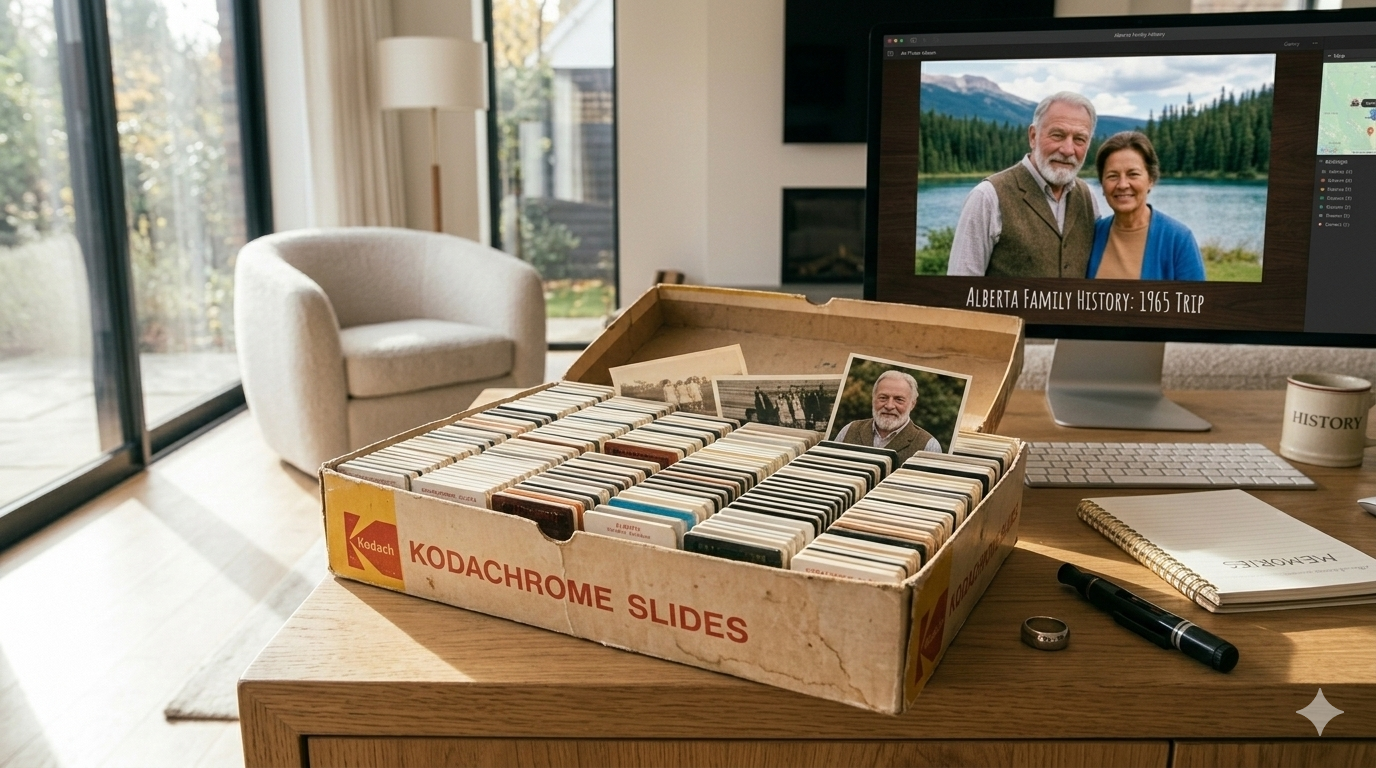
Slides were once one of the most popular ways to capture photographs, especially from the 1950s through the 1990s. Many families still have boxes or carousels filled with slides from vacations, holidays, and important life events.
Over time, however, slide film can fade or become damaged if it is not stored properly. Converting slides into digital images helps preserve these memories while making them easier to view and share.
Digitizing slides allows you to rediscover photos that may not have been viewed in years and protect them for future generations.
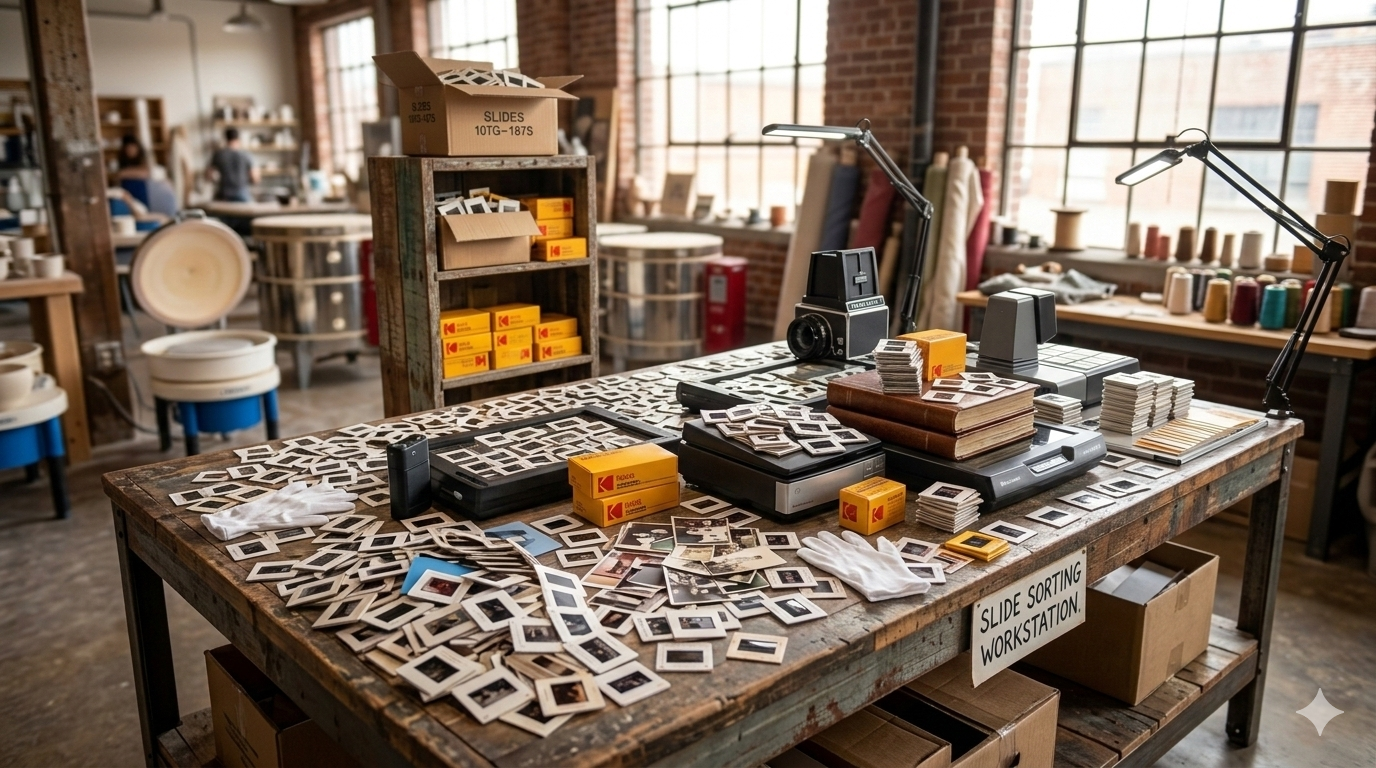
Proper preparation is one of the most important steps in producing high-quality slide scans. Slides often collect dust, fingerprints, or small particles during storage.
Before scanning, gently clean the slides using a soft brush or microfiber cloth. Removing dust and debris helps ensure the scanned image appears clear and sharp.
Handling slides carefully by their edges also helps prevent fingerprints from appearing on the film surface.
Slides contain a large amount of detail because they are based on photographic film rather than printed images. Using a high-resolution scanner allows you to capture this detail when converting the slides to digital files.
Slide scanners designed specifically for film usually produce the best results. These scanners illuminate the film and capture the image at a higher resolution than standard photo scanners.
Higher resolution scans also make it possible to enlarge images or print copies later without losing quality.
Older slides often develop color shifts or fading over time. Adjusting color settings during or after scanning can help improve the appearance of the image.
Many scanners include automatic color correction features that can restore some of the original tones and contrast. You can also make small adjustments using photo editing software after scanning.
The goal is to enhance the image while still preserving the natural look of the original slide.
Although it may seem faster to scan multiple slides together, scanning slides individually usually produces the best results.
Scanning each slide separately allows you to properly position the image and ensure the scanner captures the full frame without cropping or distortion.
This method also allows you to review each scan and make adjustments if necessary before moving on to the next slide.
Scanning is also a good opportunity to organize your slide collection. Many slides are already grouped by events or stored in carousels that represent specific trips or occasions.
As slides are digitized, you can organize them into digital folders based on years, events, or family members.
Keeping slides organized during scanning makes it easier to manage the digital collection once the process is complete.
After scanning your slides, it is important to create backups of the digital files. Storing copies in multiple locations helps protect your collection from accidental loss.
Many people keep backups on external hard drives as well as cloud storage services. This ensures that the images remain safe even if one storage location fails.
Having multiple backups provides peace of mind that your preserved memories will remain available in the future.
Digitizing slides is one of the most effective ways to preserve family memories captured on film. Once converted to digital images, slides can easily be shared with family members, organized into digital albums, or used to create memory slideshows.
For families with large slide collections, professional slide scanning services can help simplify the process.
At Middle, we help families throughout Calgary convert 35mm slides into high-resolution digital images so those memories can be safely preserved and shared for years to come.